So you want to get into film photography?
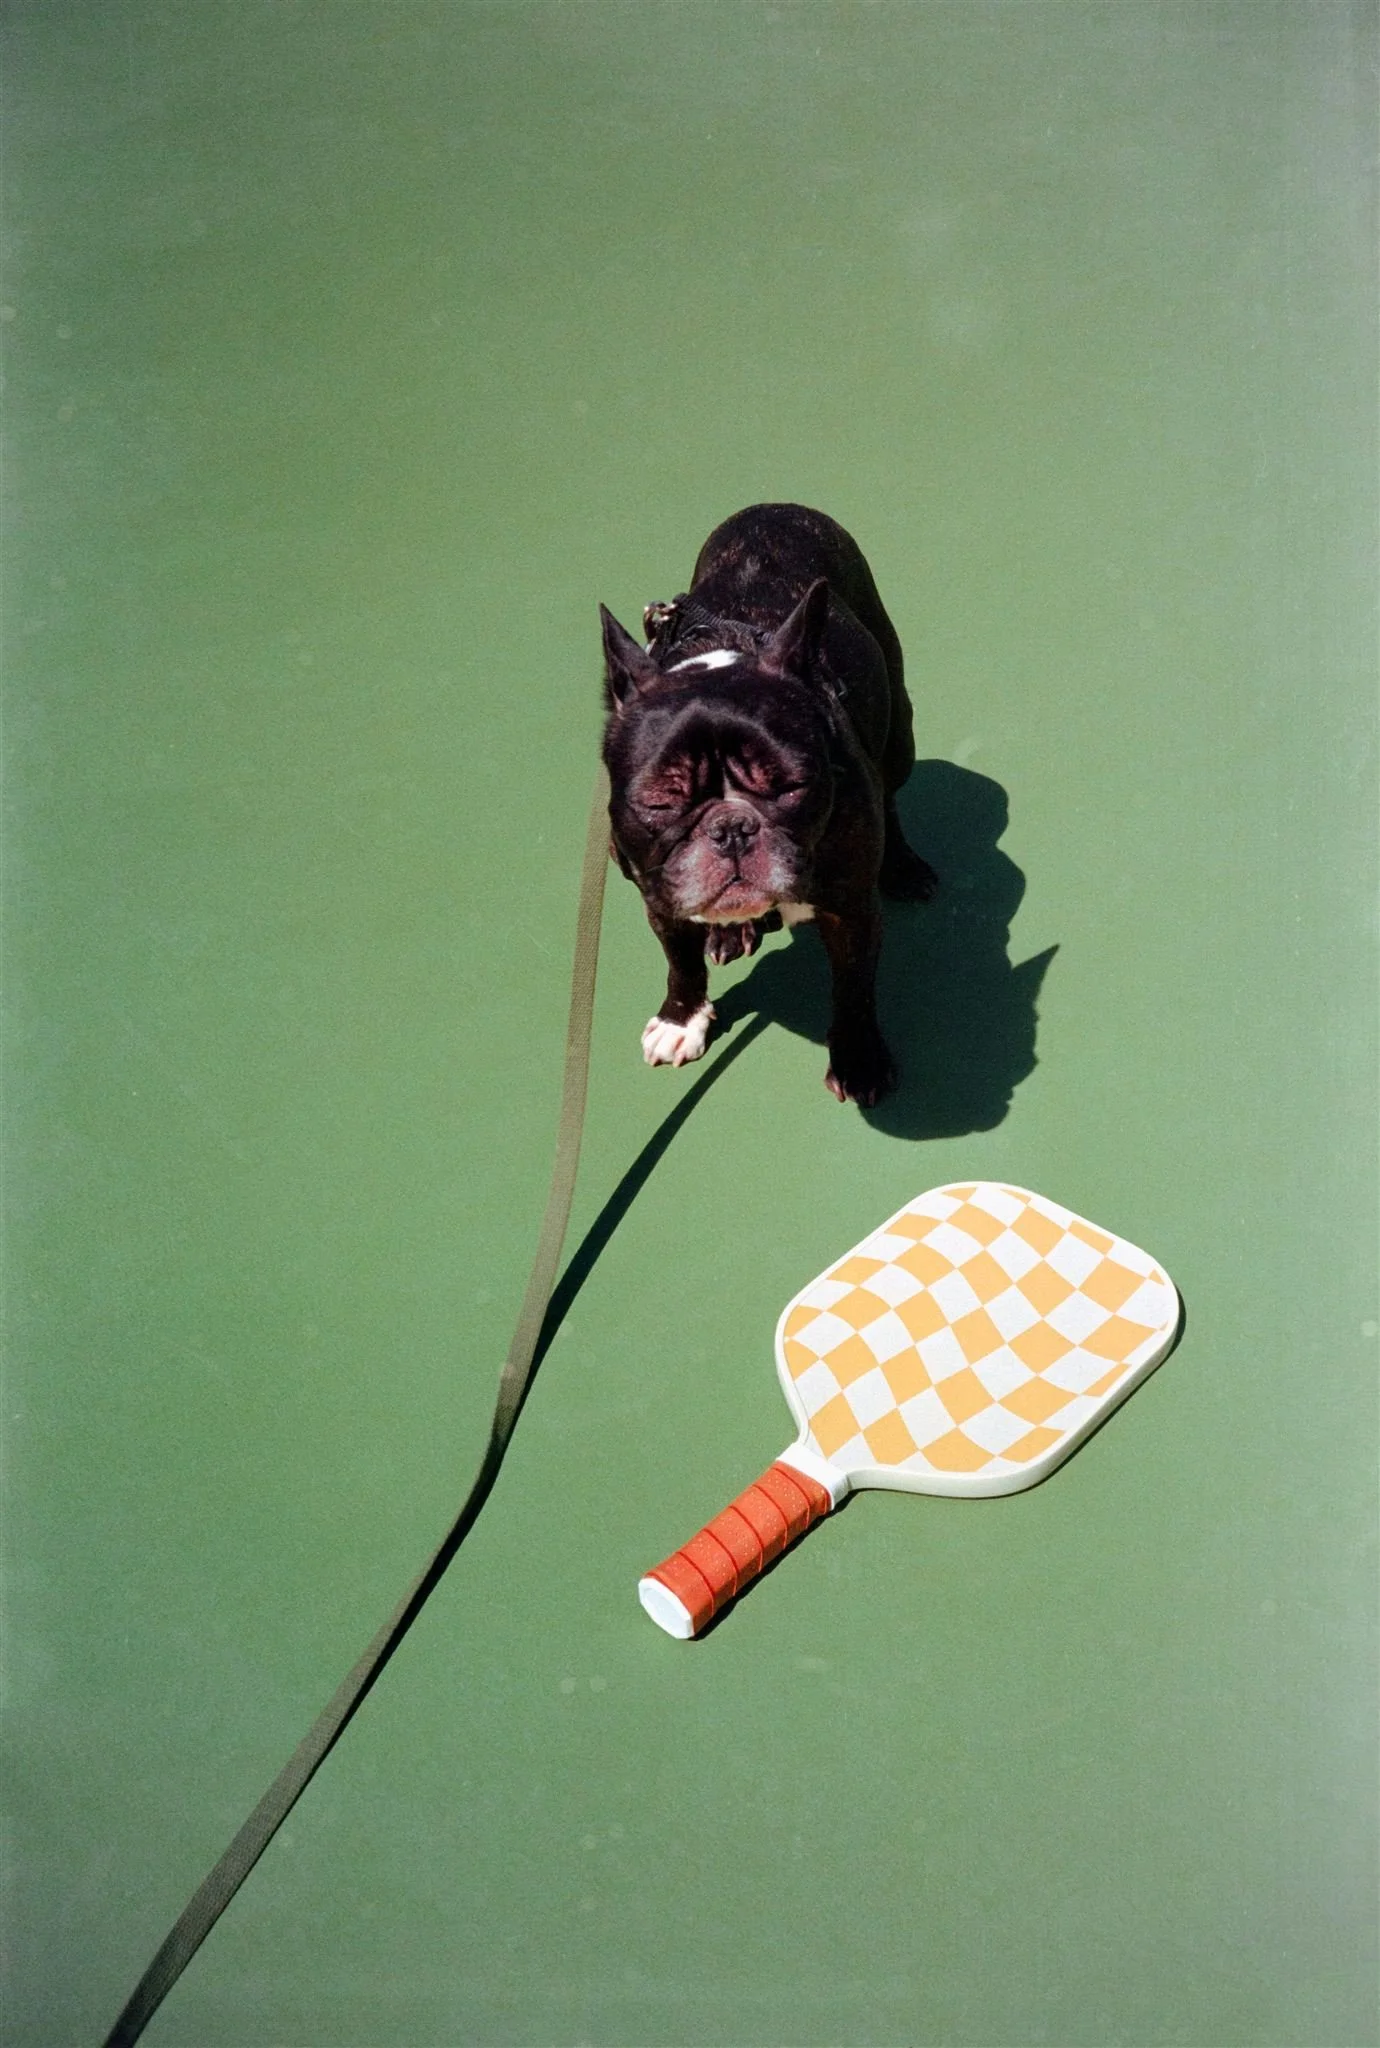
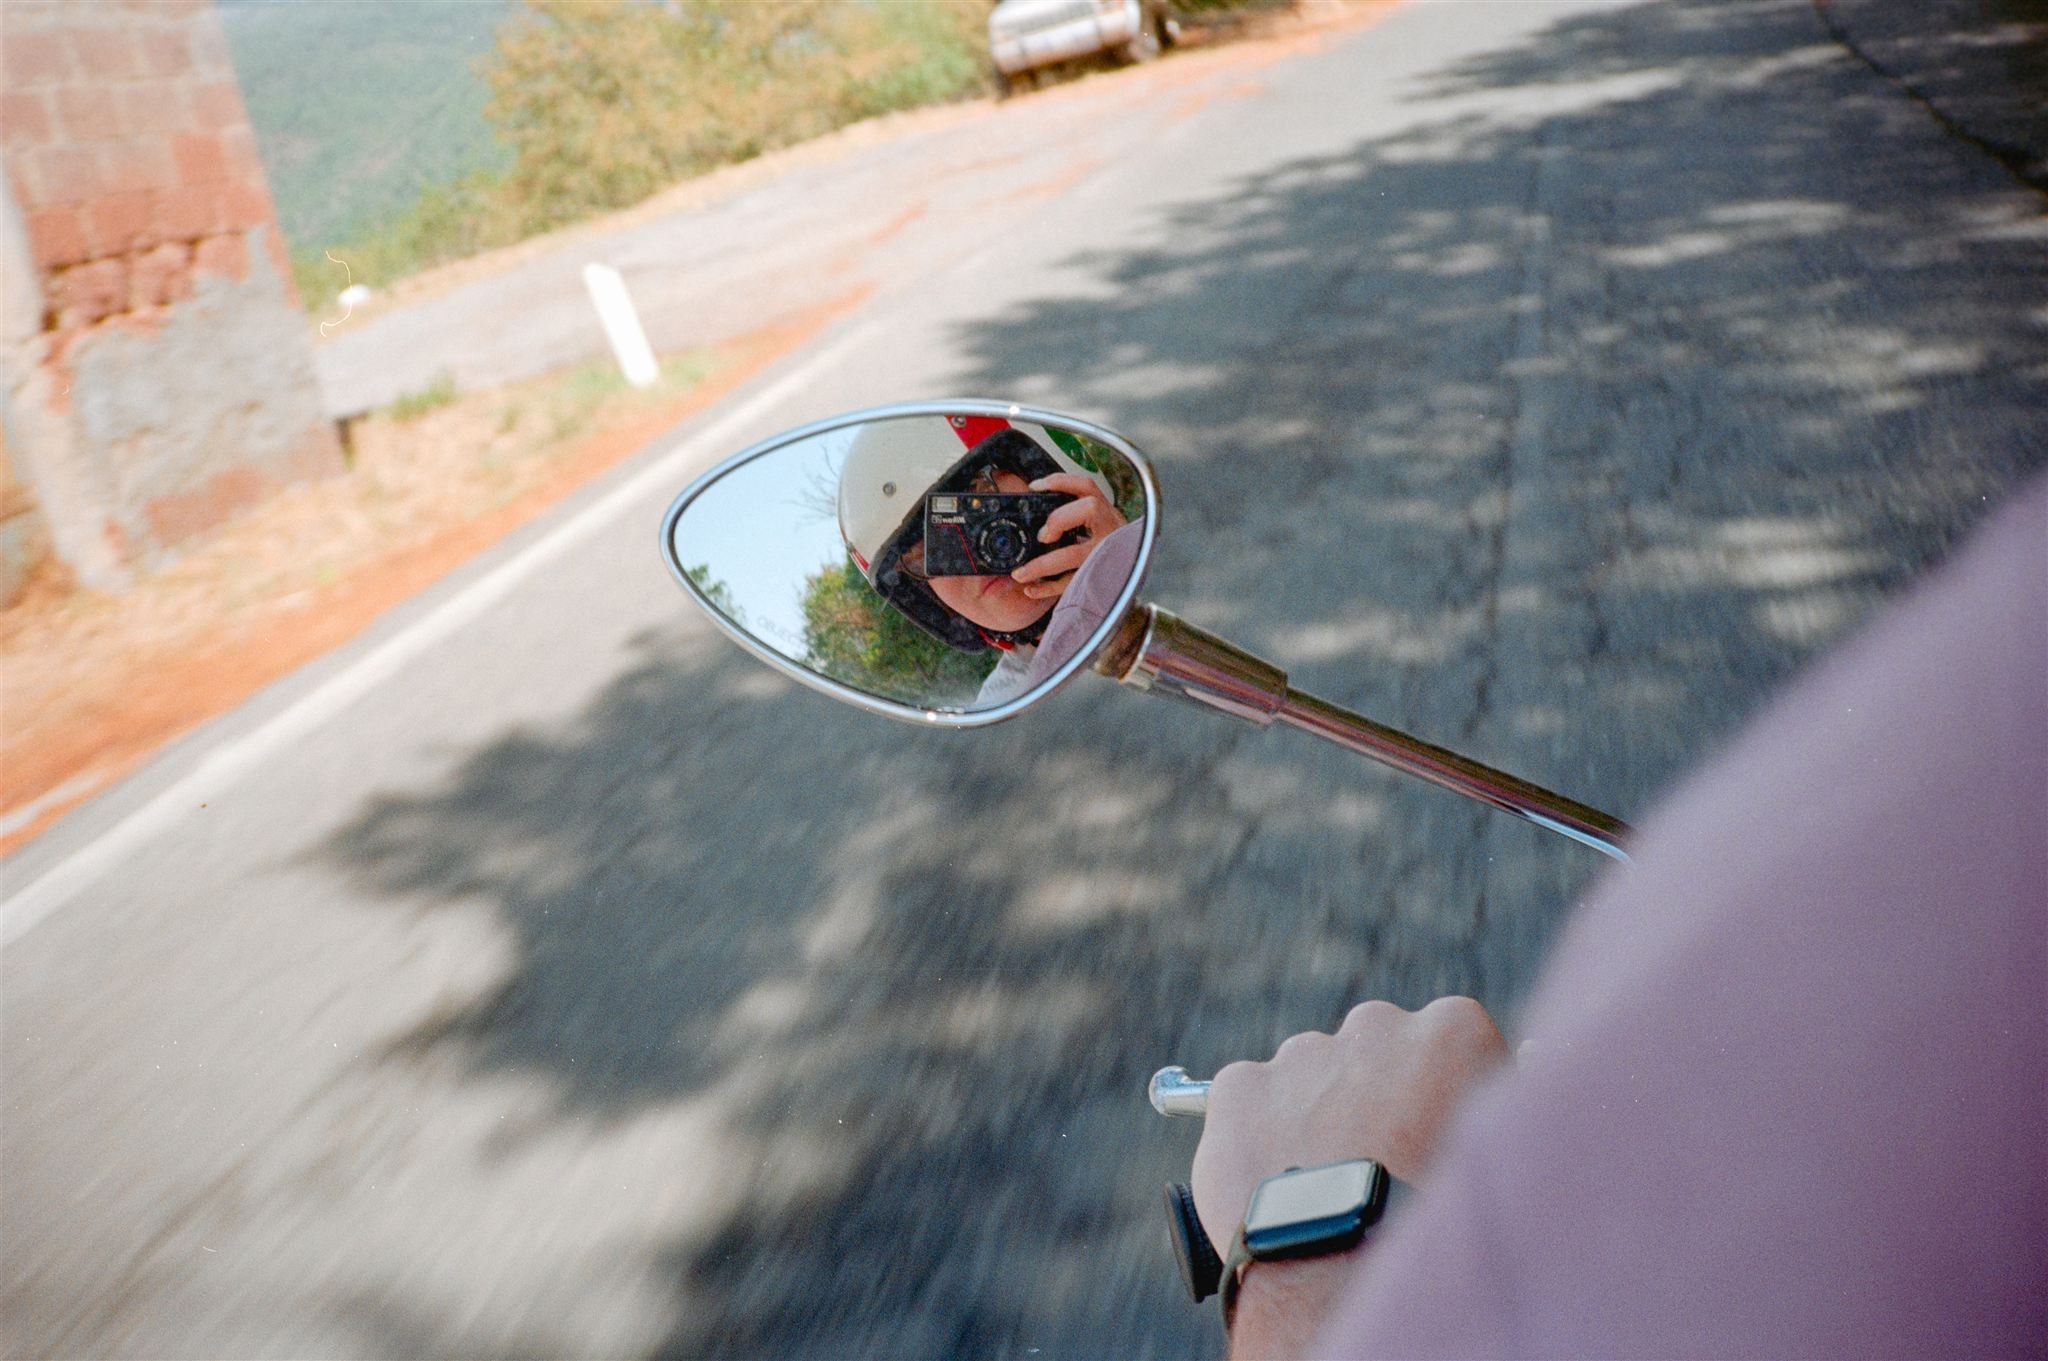
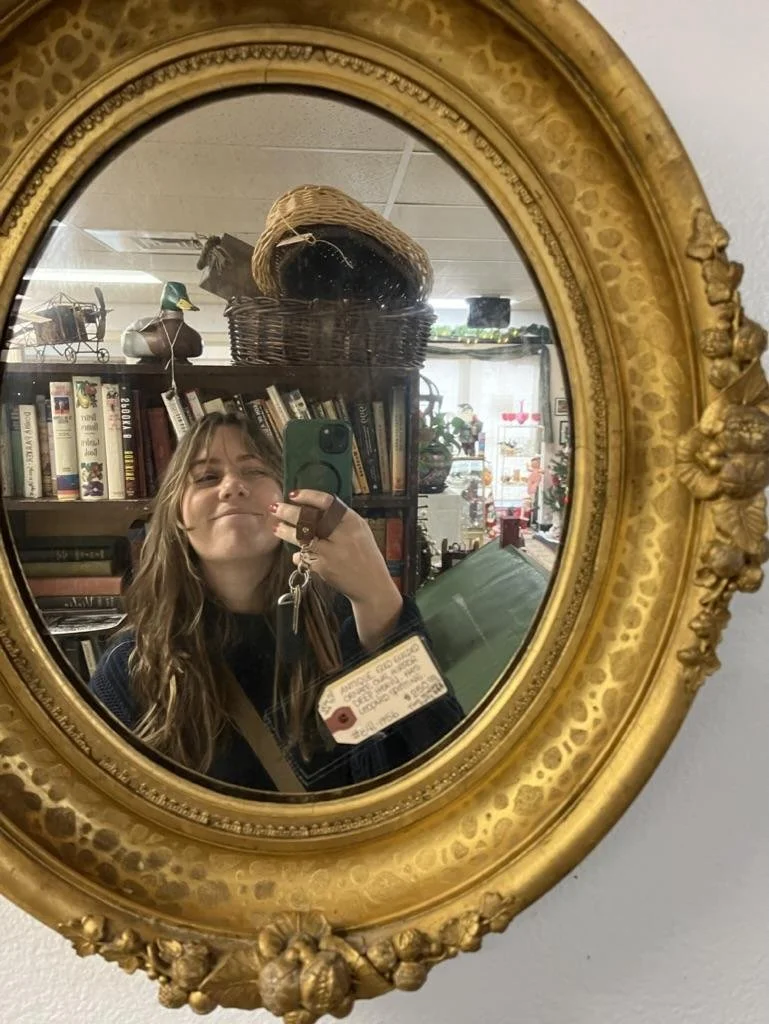
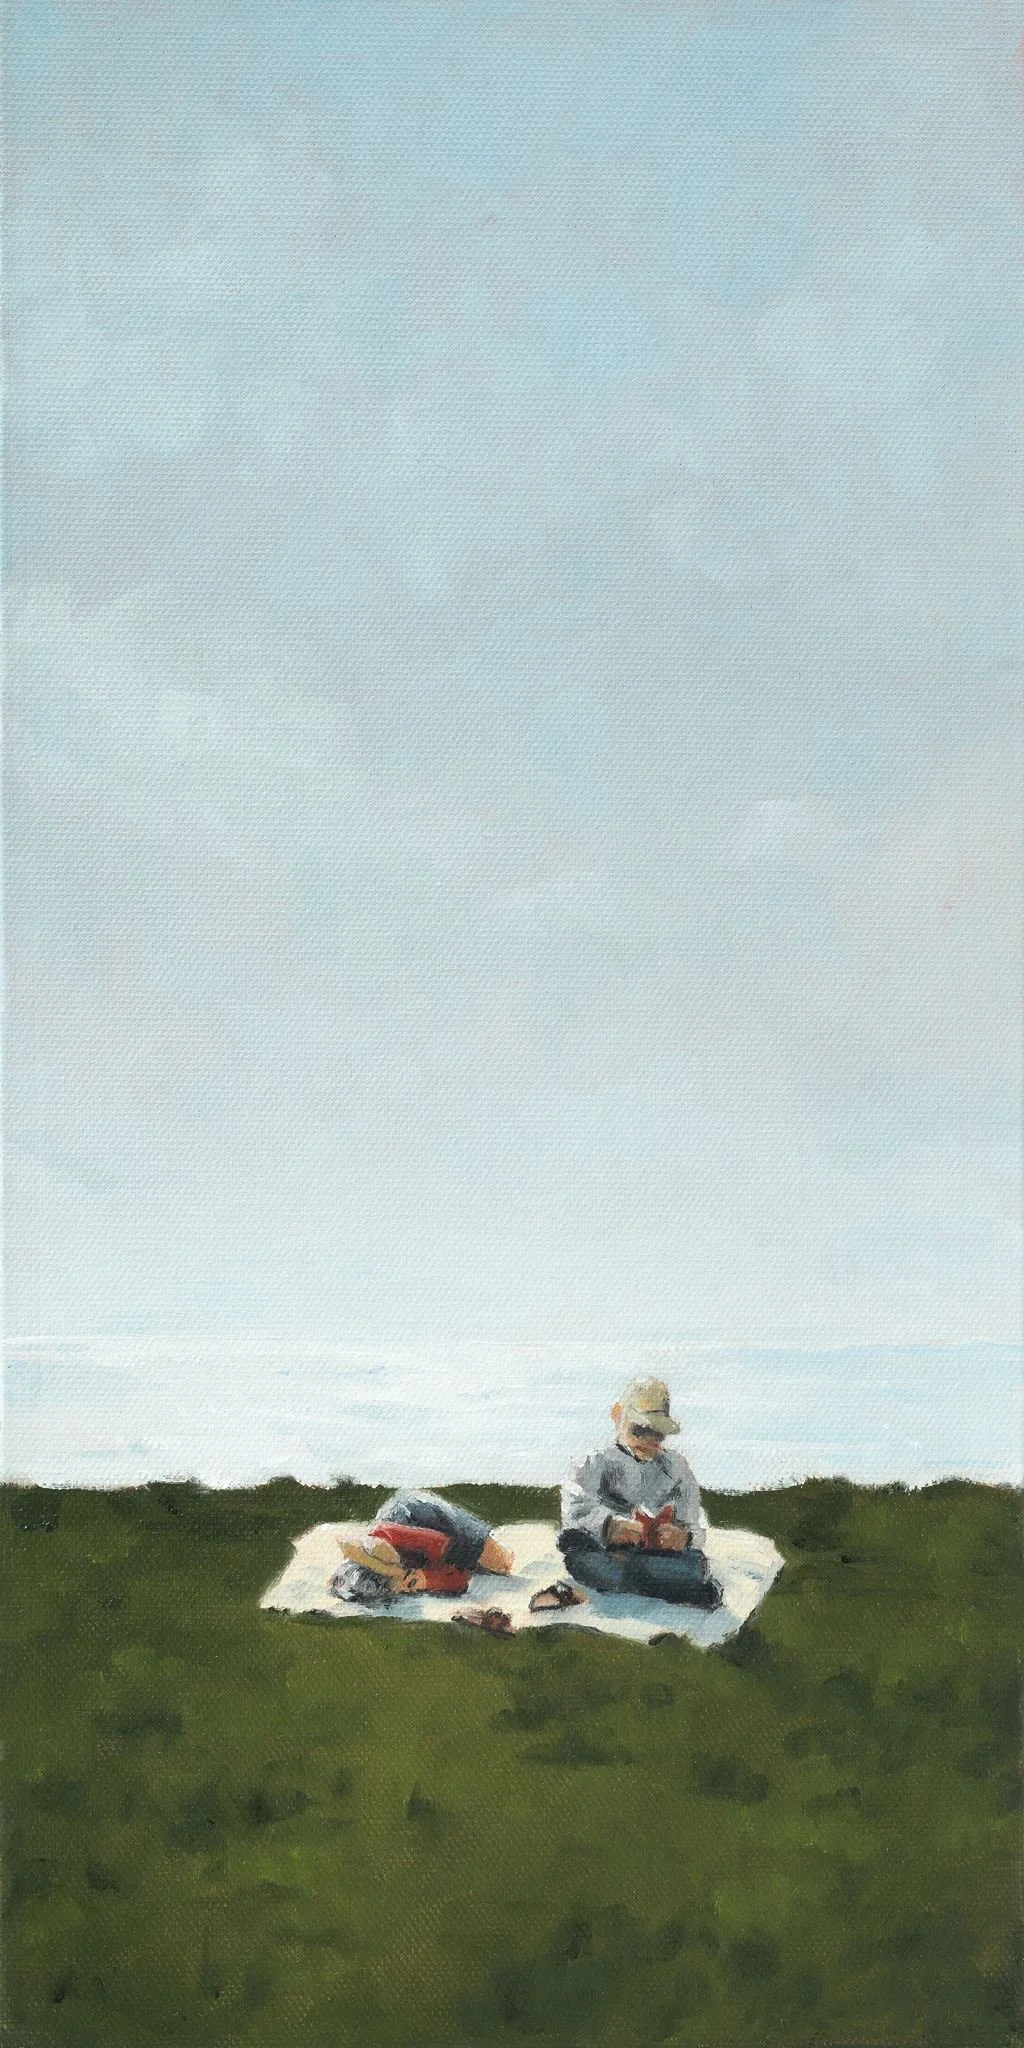
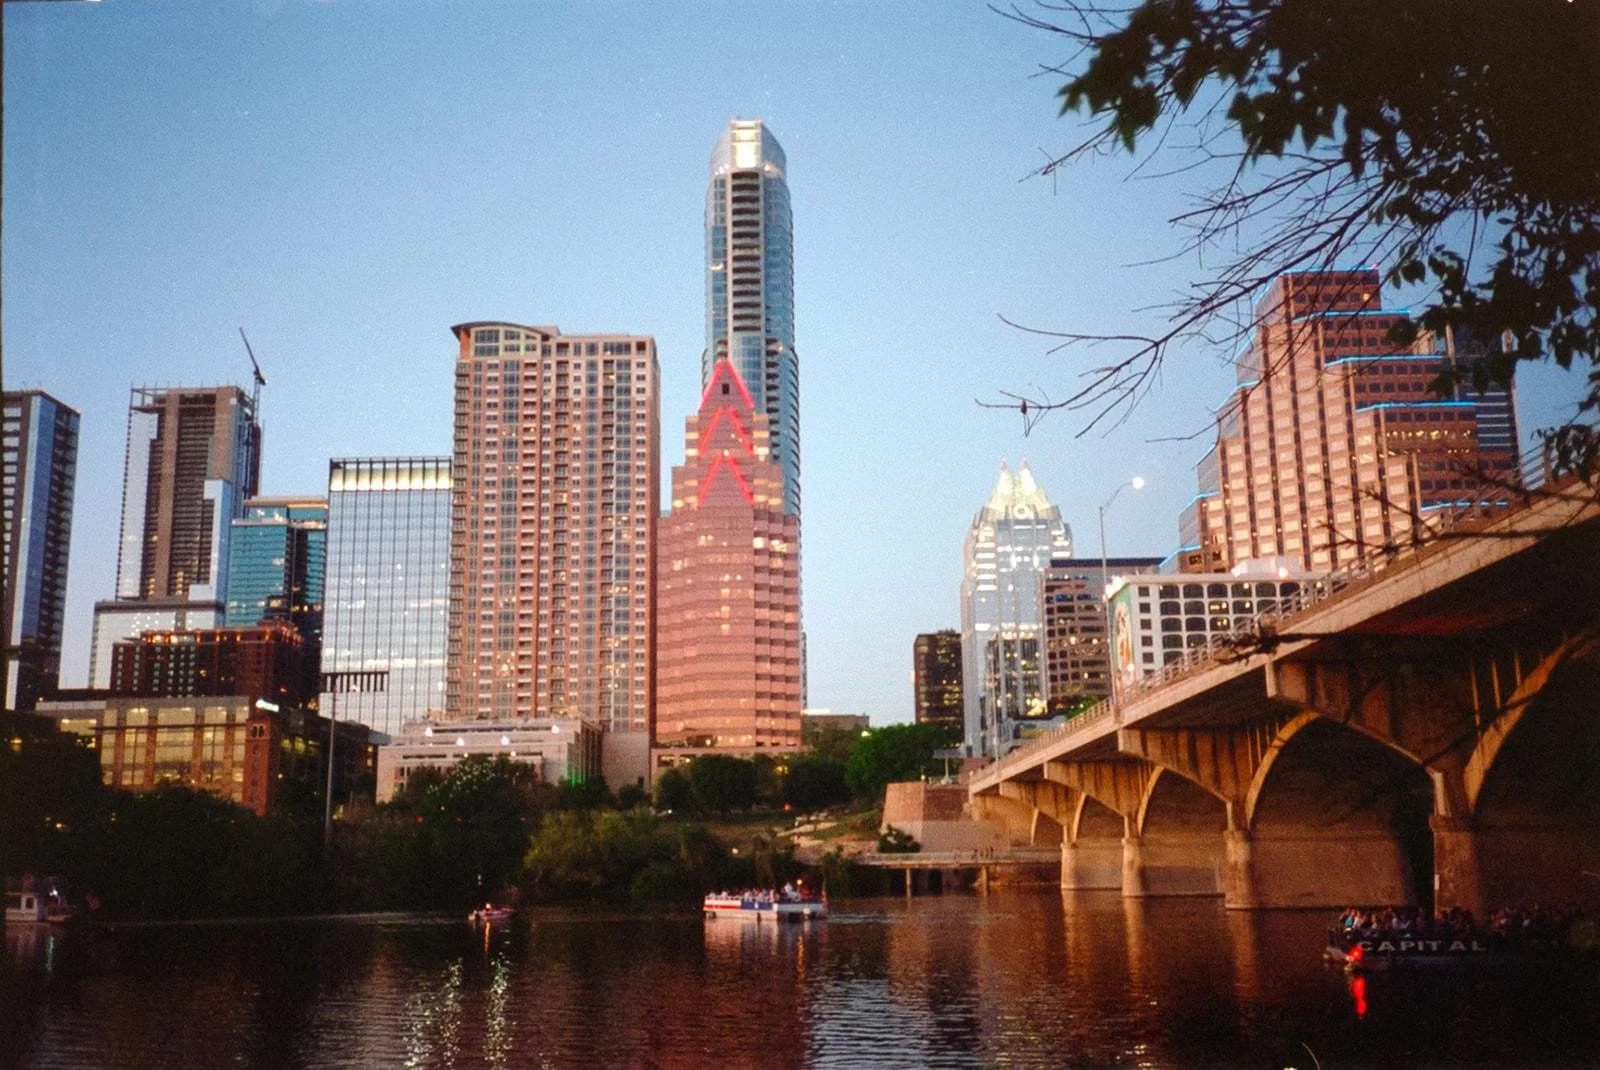
(PS all images in this edition of the Journal were shot on a point-and-shoot camera from the 80s and/or a disposable camera.)
I thought it was only fitting to start the Journal by exploring creativity from every angle, and today we’re tackling one of my favorite creative mediums: 35mm film.
Film might be for you if you are suffering from the following ailments: too much screen time, overshooting, inattentive-squirrel-brain, having 10,000 photos of your breakfast, running out of cloud storage, and/or over-analyzing the way you posed in that one photo so you asked your friend to re-take it so many times that you now hate the thought of even looking at yourself in a picture.
Too on the nose? Well, then I’m here to convince you that film might not be just for pretentious photographers with dumb email lists.
Film might be just the thing to help you stay in the moment while still having something to remember it by.
Here’s How to Start your 35mm Film Journey
So you decided you are now a #filmbro, but Google gave you too many weird terms (aperture, ISO – is it eye-so or I.S.O…? –, pull, film stock) when all you really wanted was a grainy, nostalgic photo of your friend’s birthday cake.
Not to mention there’s about a billion (approx.) cameras out there.
Here’s how I recommend starting your film journey:
1. Raid your grandma’s closet
Kendall Jenner has us convinced that in order to take nostalgic party photos, we need an over-hyped brick from the 90s that costs more than a brand-new camera. But take it from me, *most* film cameras, especially point-and-shoots, are built exactly the same: It’s a box with a hole for viewing and a hole for film.

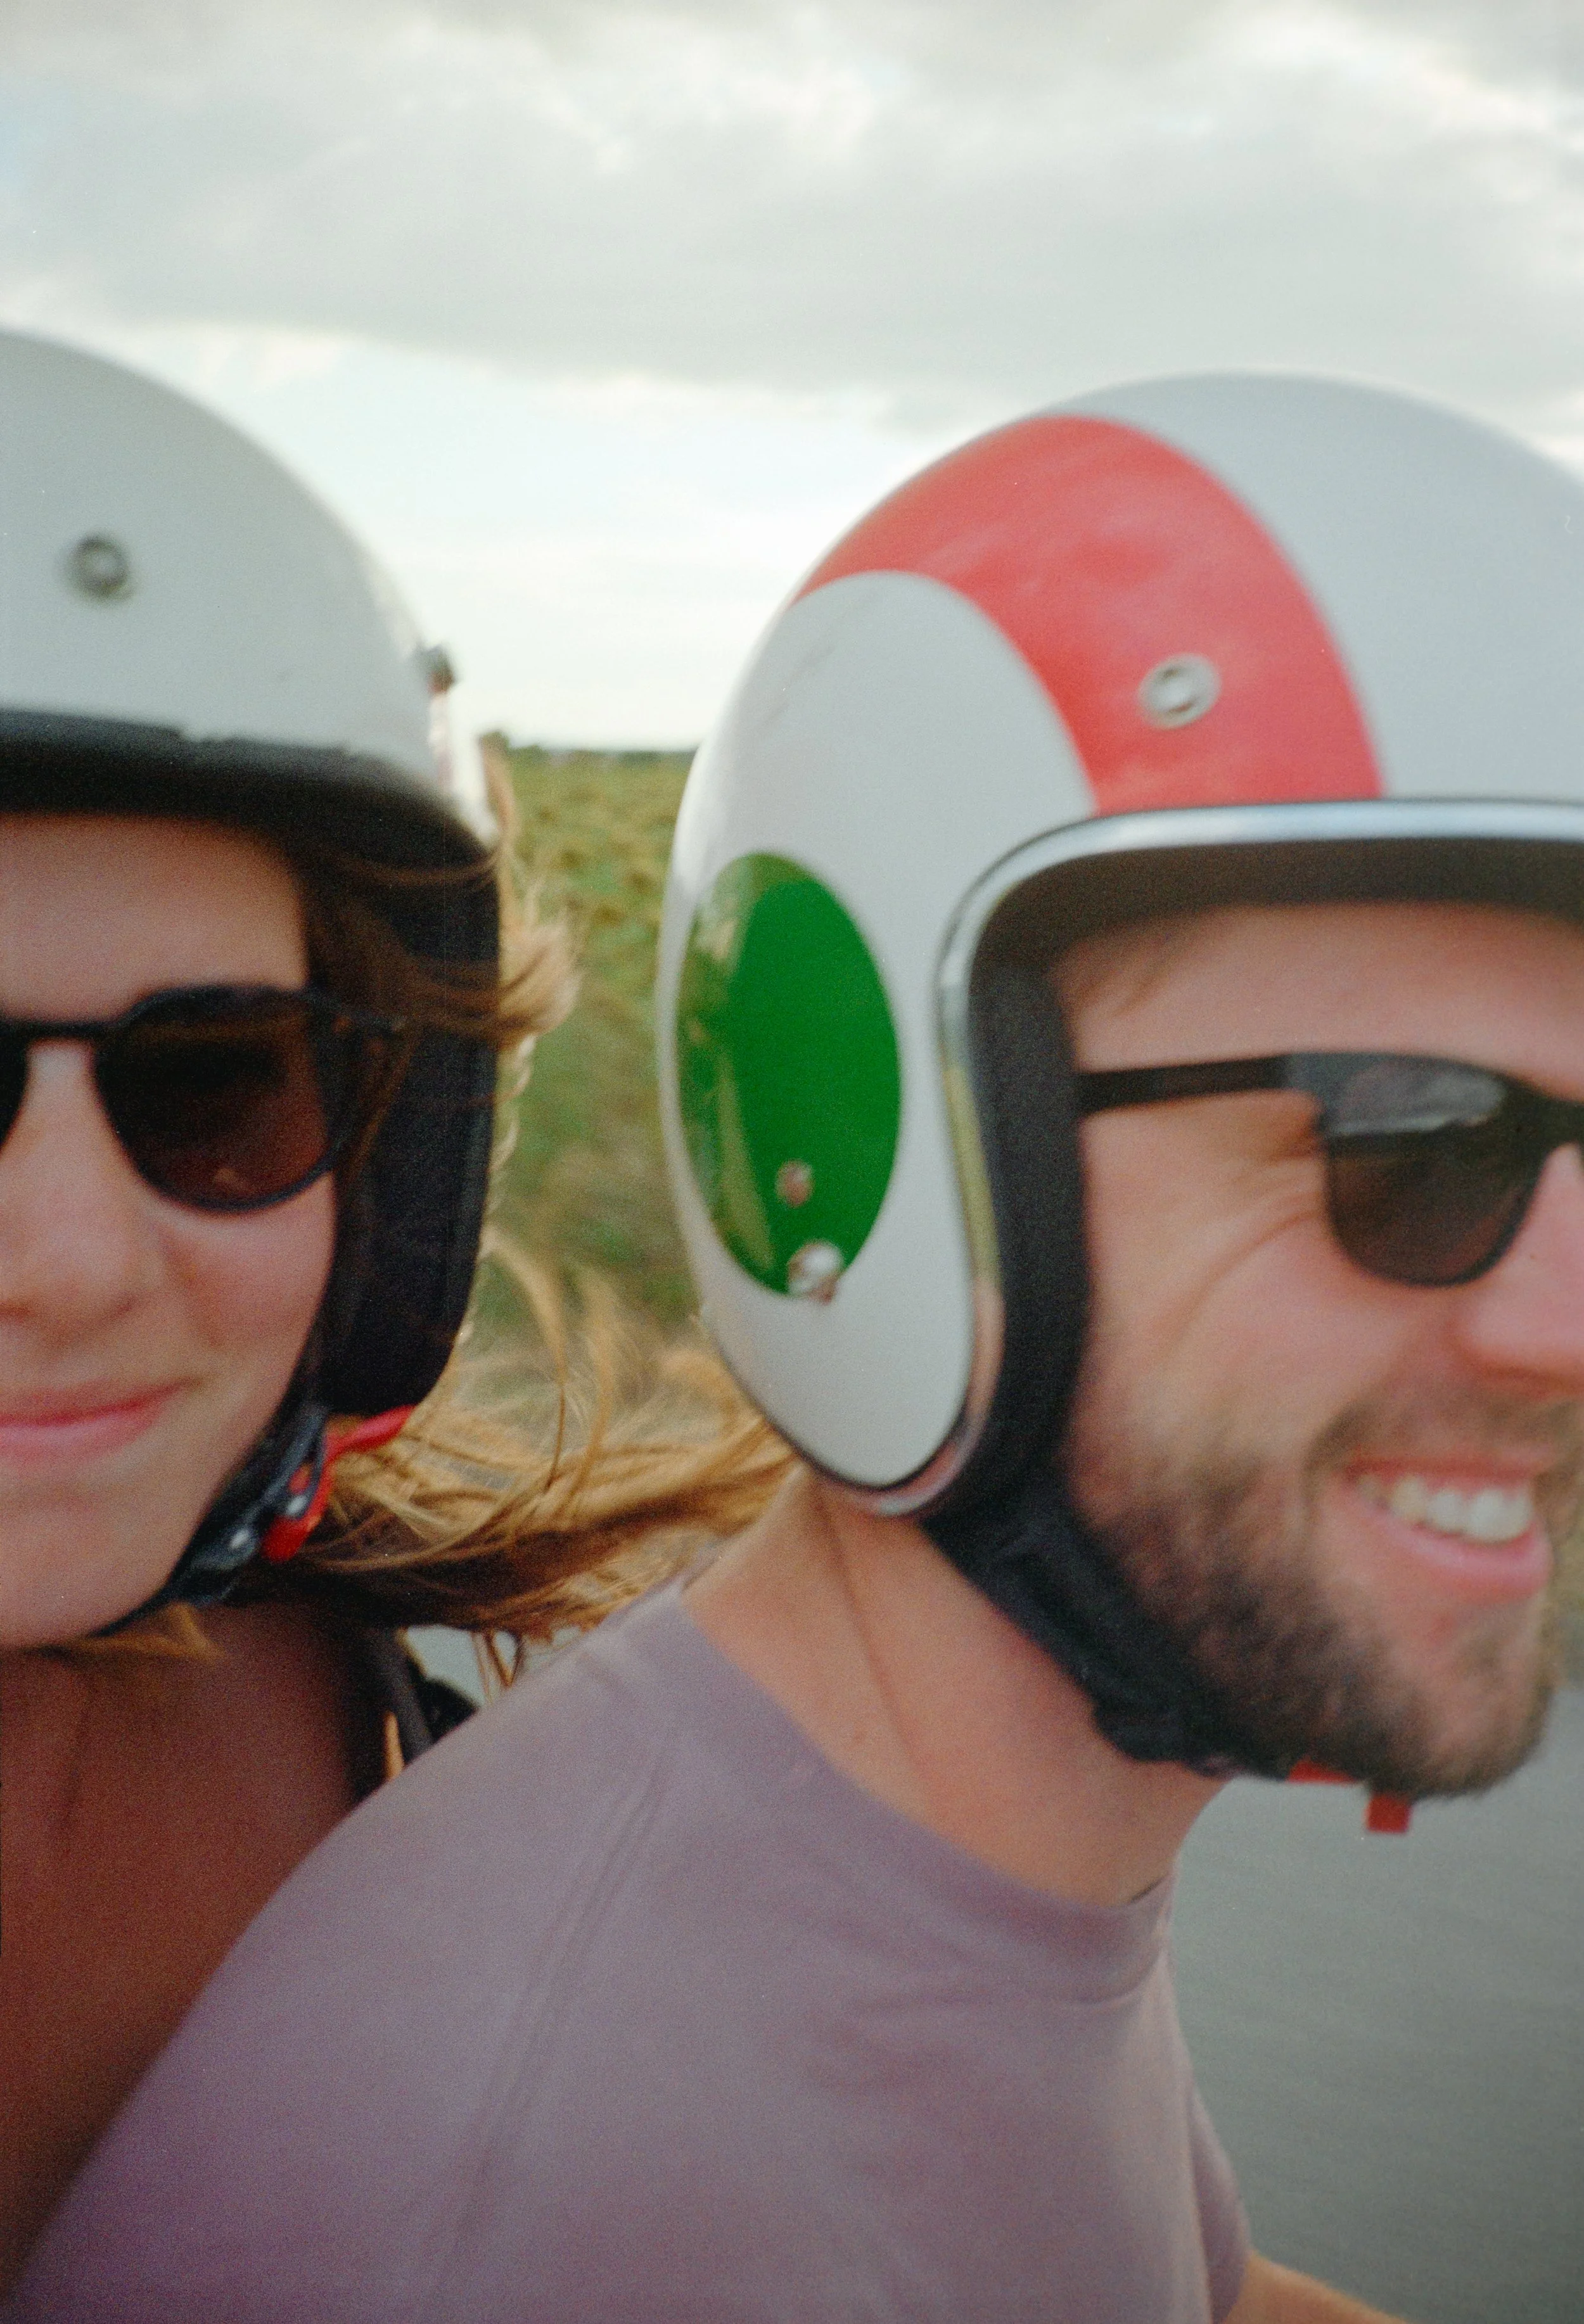
(PS all images in this edition of the Journal were shot on a point-and-shoot camera from the 80s and/or a disposable camera.)
Instead, look in your grandma’s closet. I guarantee she shoved some hipster’s filmy dream into a dusty corner when the superior technology came along. If your grandma did actually Marie Kondo her film, try:
FB Marketplace
Thrift / Antique Stores
Disposable camera
2. Get some Film
Once you’ve acquired a camera, you’ll need some magic paper (film) to actually take an image. There’s a ton of film stocks out there, so to keep it simple, I recommend starting with one of these:
Kodak Gold
Kodak ColorPlus 200
Kodak Portra 400
Ilford HP5
Most of these film stocks are readily available, won’t break the bank, and you can find plenty of images online of examples so you can compare colors before purchasing.
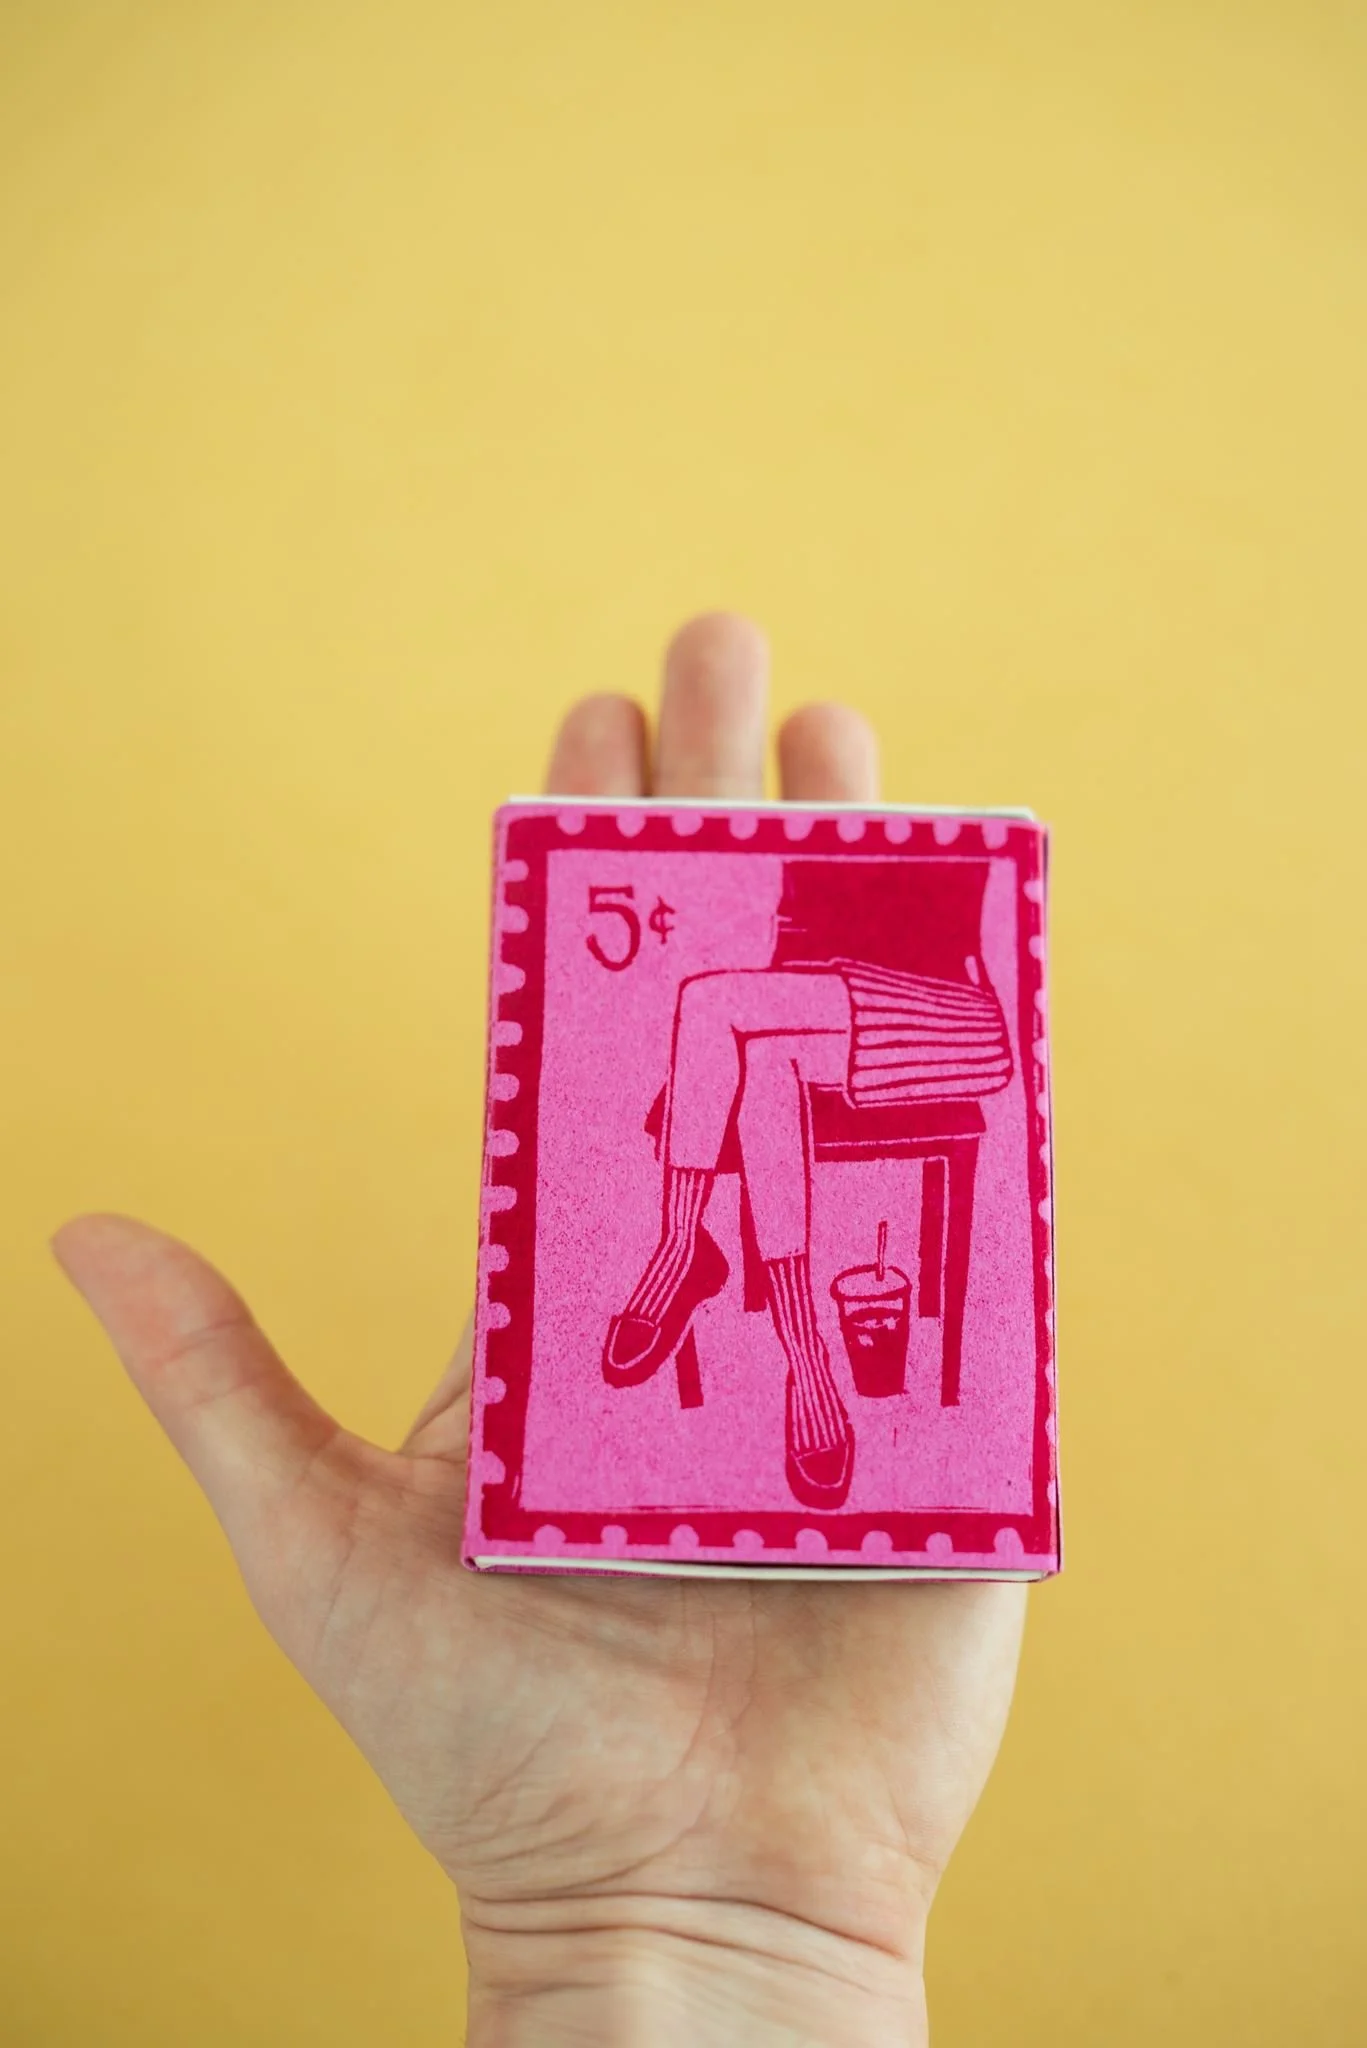
(PS all images in this edition of the Journal were shot on a point-and-shoot camera from the 80s and/or a disposable camera.)
3. Trick Your Camera
Your film stock will have a number associated with it called your ISO. ISO tells you how sensitive your film is to light.
With a digital camera, you are able to change your ISO number because you can change your camera sensor's sensitivity, but when shooting film, your ISO number is the same across all 36 shots because you can’t change the film’s sensitivity.
The ISO rating that comes with your film will be called its “box rating”. (On Portra 400, your “box rating” is 400, on ColorPlus 200 it’s 200, etc.) Most people will set their ISO on their camera to this number, but I recommend setting your ISO to HALF of your box rating.
So, when I shoot Portra 400, I set my ISO to 200. When I shoot ColorPlus 200, I set my camera to 100.
While the “box rating” is the highest ISO your film stock can perform with, the optimal range for your film is about half of that number. You are essentially tricking your camera into letting in more light, and film loves light.
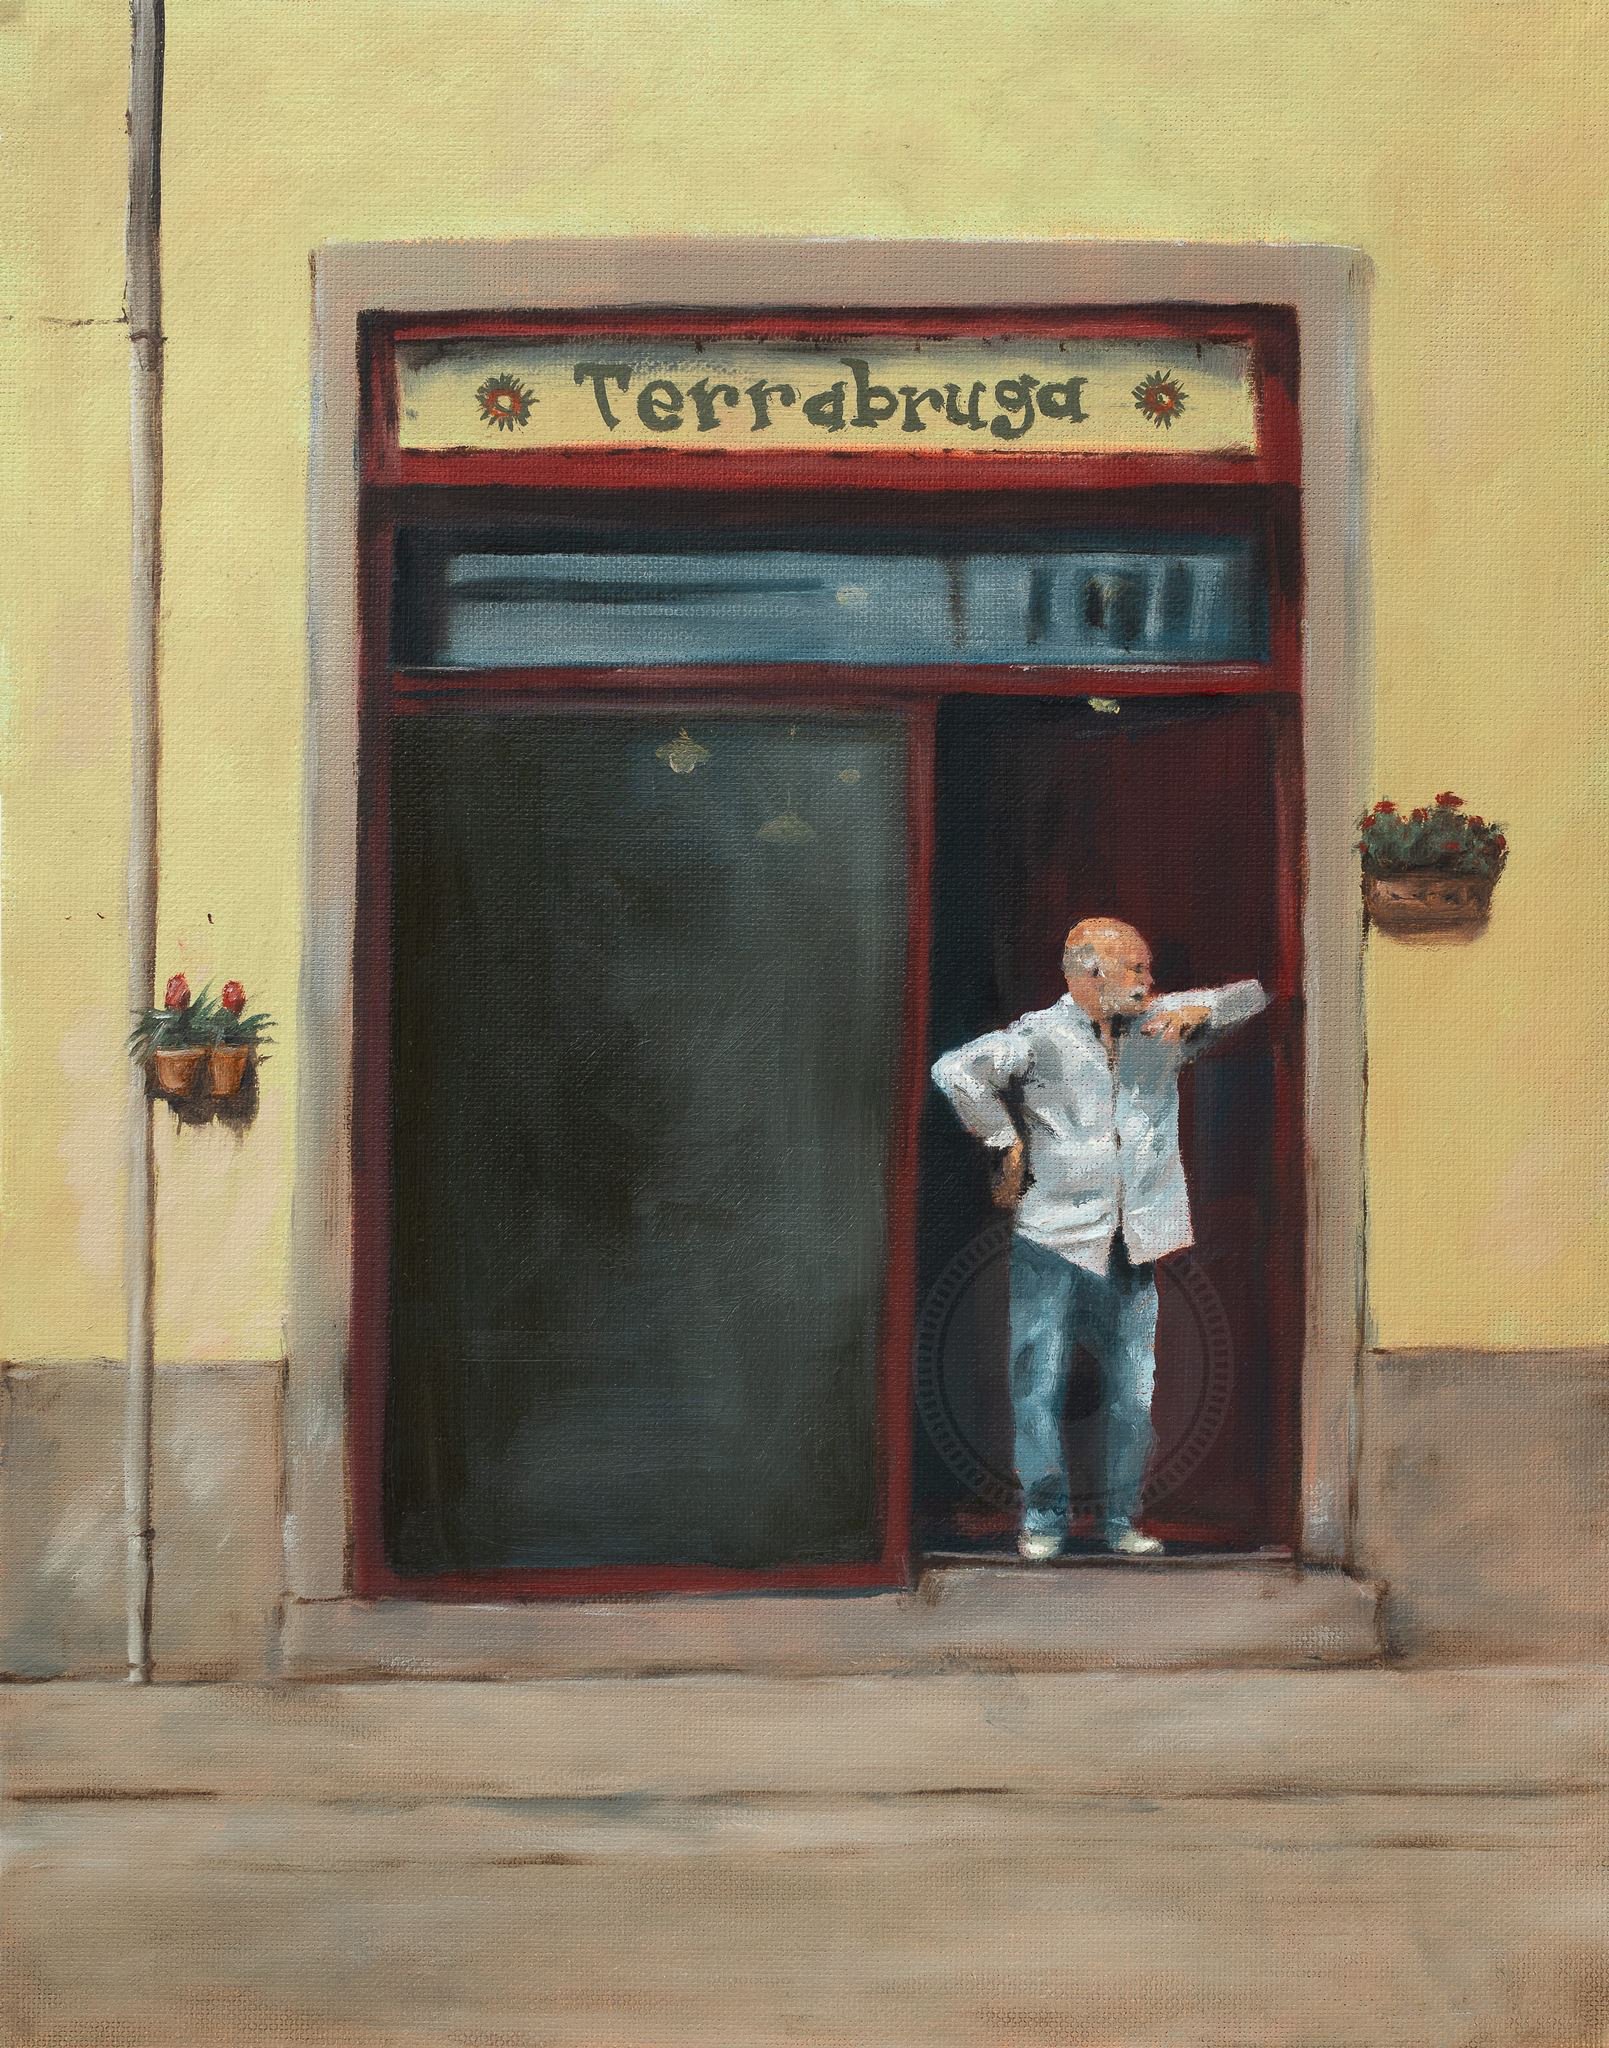
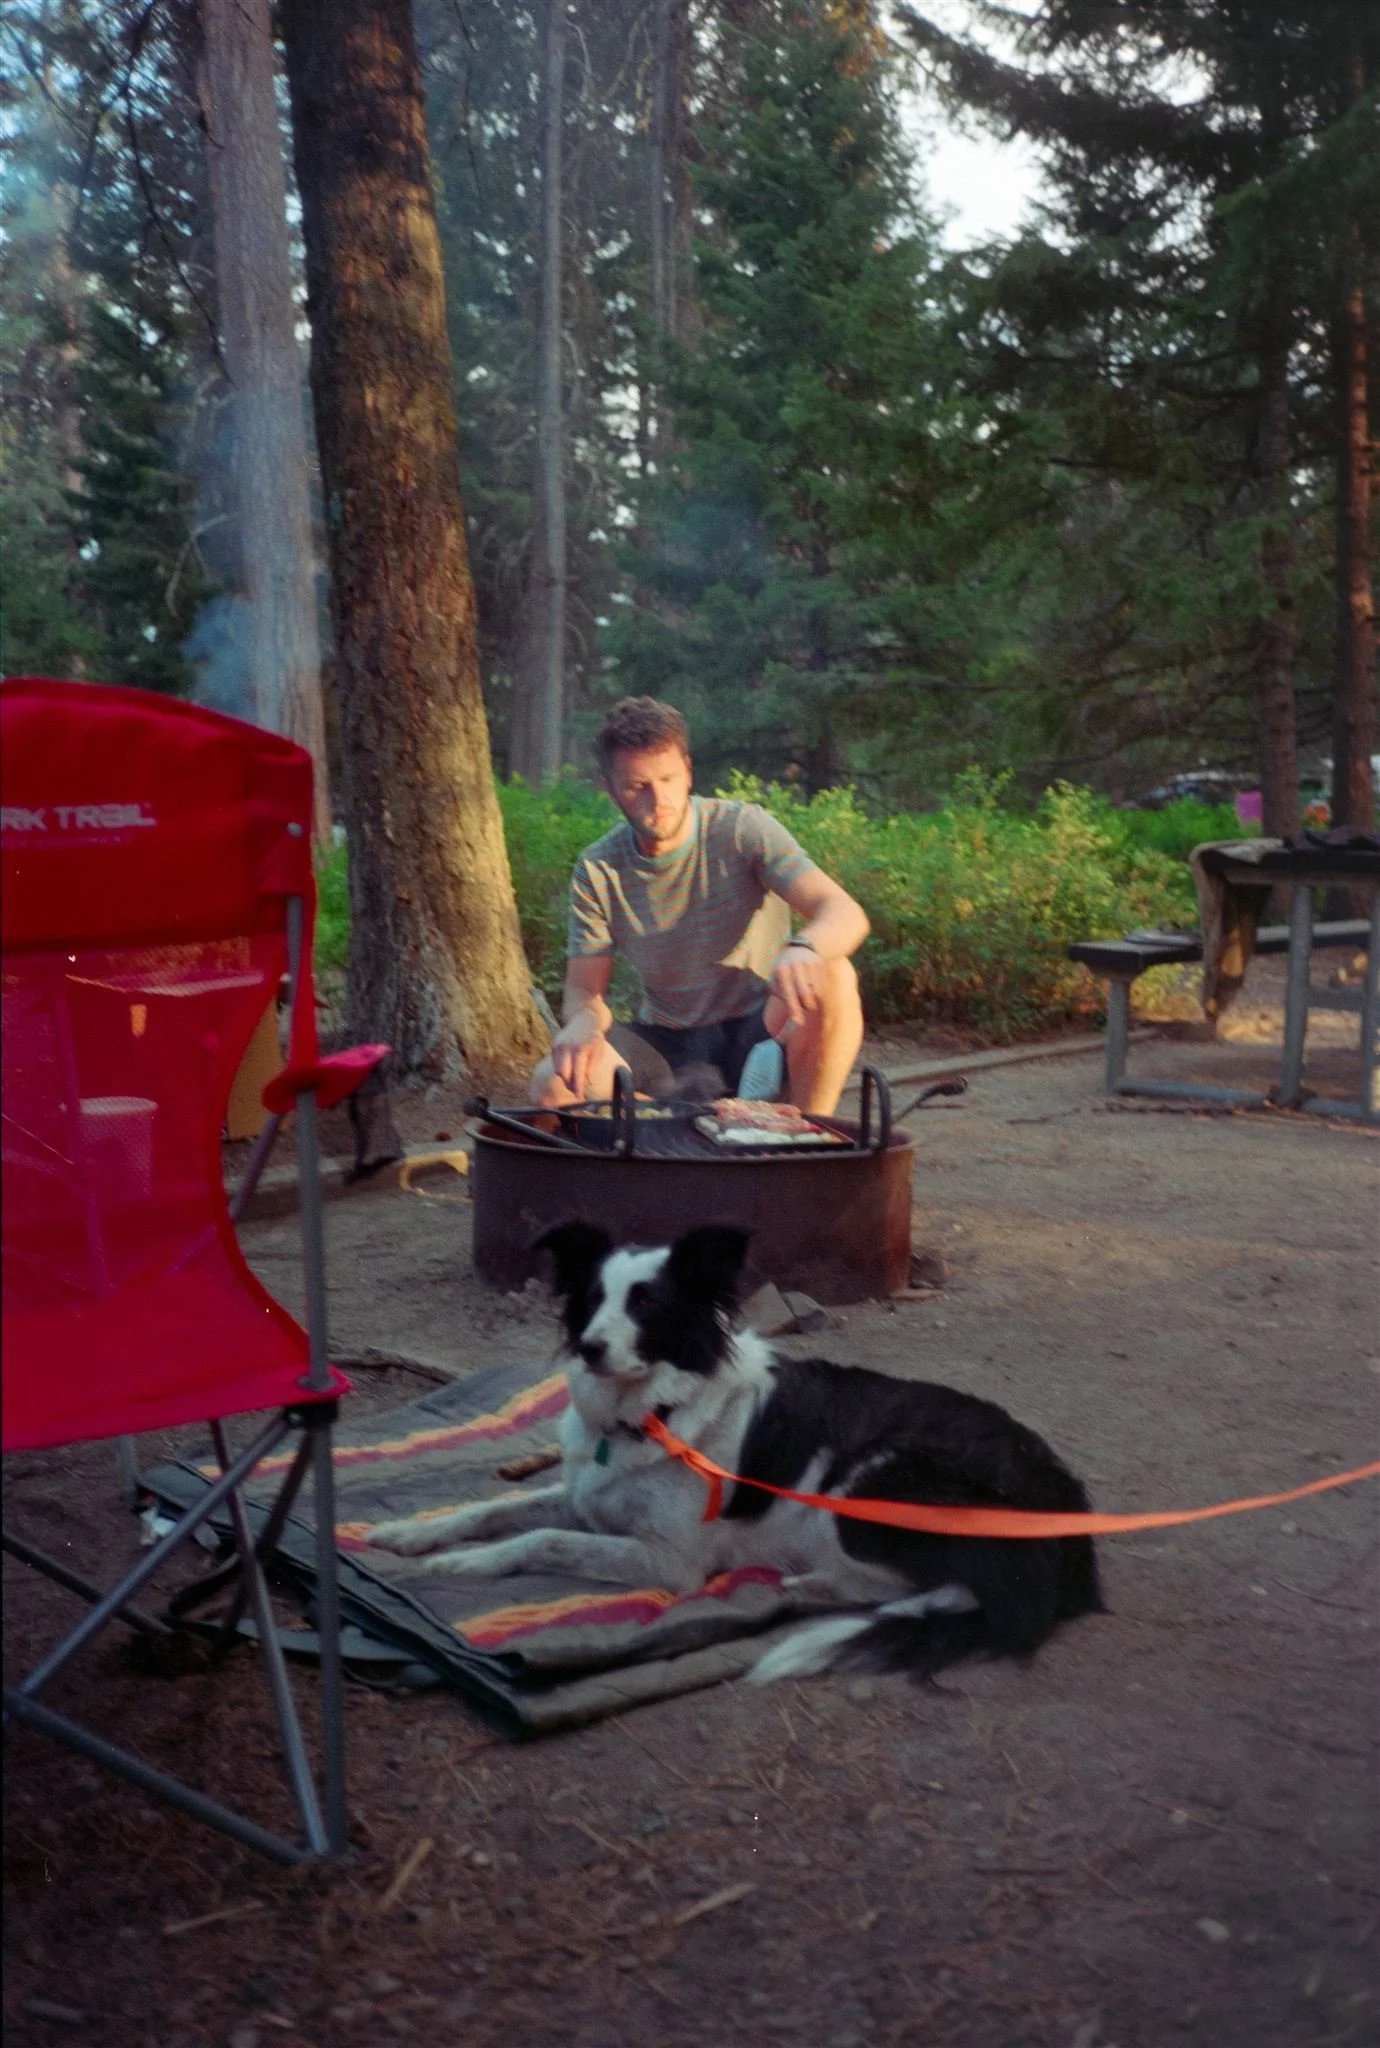
(PS all images in this edition of the Journal were shot on a point-and-shoot camera from the 80s and/or a disposable camera.)
4. Shooting
I’m not going to give you many tips here. Just go and shoot a roll, and remember that film loves light. When you’re indoors, you’ll probably need flash.
I like to take my point and shoots to group gatherings – there’s usually enough interesting things / people to photograph at a party that I’m able to reach my 36-image quota faster. You’ll be surprised how much longer it takes you to take 36 photos than it does on your iPhone since you can’t see what the images look like.

(PS all images in this edition of the Journal were shot on a point-and-shoot camera from the 80s and/or a disposable camera.)
5. Developing
After you finish a roll, rewind it, remove it, and take it to get developed. Avoid Walgreens or Walmart because your colors will look like trash, and try to find somewhere local (in Boise: Timeless Boise) to get your film developed.
If you don’t have a local film lab, many film labs offer mail-in services, or there are national labs like The Darkroom.
While it’s hard to mess up developing (using chemicals to turn your film strip into a negative), not all scanning is done equally (turning the physical negative into a digital image for printing).
Ask for your negatives back when you send in your film. If you get your digital images back and the colors seem really off it might not be your photography skills, it could just be the scanning. It could be worth it to send your negatives to another lab to see if you can get a better result.
(PS all images in this edition of the Journal were shot on a point-and-shoot camera from the 80s and/or a disposable camera.)
Conclusion
I know you might have signed up for this newsletter for art, but film photography is an art form, right? Don’t worry, here’s a few of the topics I want to cover next. Hit reply with your vote:
“The Unexpected Red Theory”
“Jack of all trades but some people call me a space cowboy”
“Inspiration is everywhere” and other platitudes”
“Christmas Cards: The Anthology”
Until next time,
STSc
Get the Sad the Journal in your inbox and join the creative conversation: